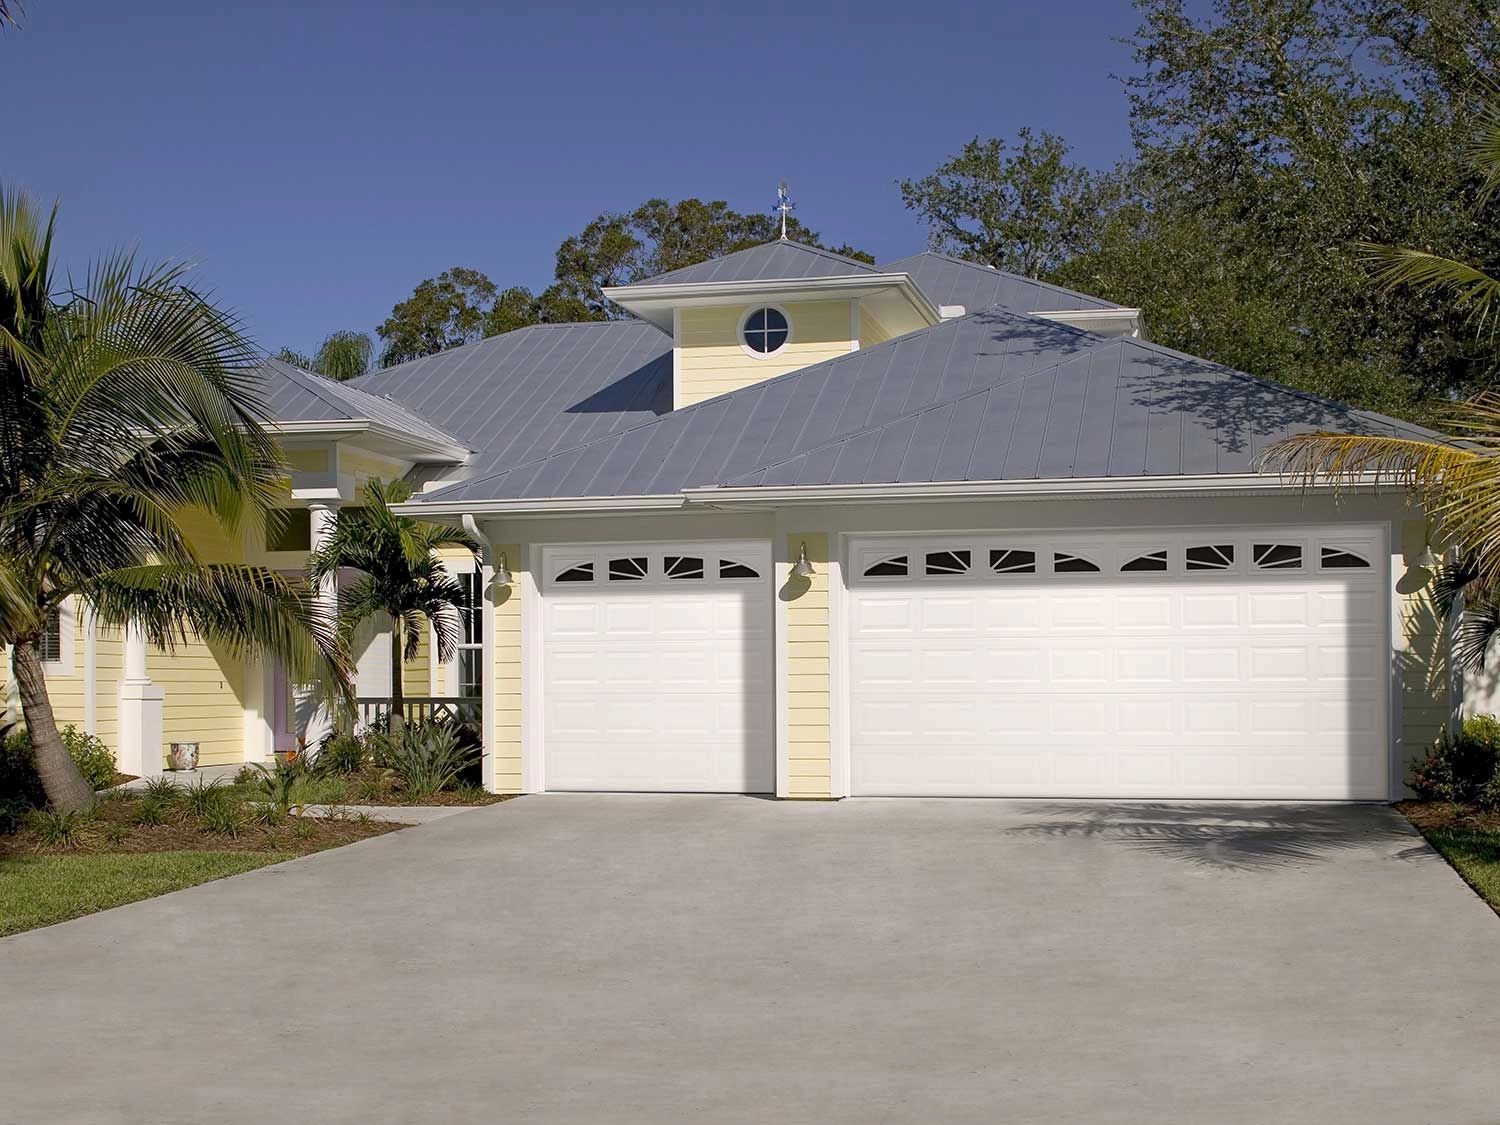
Your garage door is one of the biggest openings in your home. It is also one of the easiest ways for hot air, rain, humidity and bugs to get inside.
The seals around the door are what hold that line. In Naples, sun and humidity break them down faster than you might expect. Here is how to tell when yours need help, and what your options are.
Signs your seals are worn out
You do not need tools to spot a failing seal. Just look and listen. Watch for:
- Daylight showing under or around the closed door
- Water pooling just inside the door after rain
- Ants, roaches or other pests coming in
- Rubber that is cracked, flattened, brittle or peeling
- A hot, stuffy or musty garage even when the door is shut
- Leaves and dust blowing in
Check the door from inside on a bright day. Turn off the garage lights and look for light coming through. Any light you see is a gap.
The four main types of seals
Most garages use a mix of these. Together, they make an airtight barrier.
- Bottom seal. This is the flexible strip on the lower edge of the door. It presses against the floor when the door closes and blocks drafts, dust and small pests.
- Side and top weatherstripping. Vinyl or rubber strips run along the sides and top of the door and seal the gap between the door and the frame.
- Brush seals. Dense bristles that bend to fit uneven surfaces. They are handy where the gap is irregular.
- Threshold seal. This one goes on the floor under the door. It sits between the door and the concrete and gives you a second layer of defense, which helps keep rain from running in.
Installing a threshold seal
A threshold seal is a floor project, not a door project. It does not touch the door's springs, cables or tracks, so it is a job many homeowners handle. The basic steps look like this.
- Measure and cut. Measure the width of the opening and cut the seal to fit.
- Clean the floor. Remove dirt, debris and old adhesive so the new seal will stick.
- Apply adhesive. Use the one the manufacturer recommends.
- Position and press. Lay the seal along the floor, snug against the door's closing line.
- Test it. Close the door and check that it comes all the way down without bouncing back up. The seal should compress evenly.
If the door stops short or reverses when it touches the seal, the seal is too tall for your door or sits in the wrong spot. Do not force it. Take it up and adjust, or ask us.
Keep your hands away from the springs, cables, tracks and the brackets at the bottom corners of the door. Those parts are under heavy tension and are not for do-it-yourself work.
Replacing the bottom seal
The bottom seal on the door itself is better left to a professional. It is a quick job for a tech, and it keeps you away from the bottom corner brackets, which hold the lift cables under tension. If your bottom seal is cracked or flat, we can swap it. See our garage door repair services.
Keep your seals working
A little care goes a long way, especially in our humid, salty climate.
- Wipe the seals with mild soap and water to remove dirt and salt.
- Sweep leaves and grit from the threshold, so the seal can press flat.
- Check all the seals at the start of each season, and after big storms.
- Replace any seal that is cracked, torn or flattened. A worn seal does very little.
Sealing the door is one part of keeping the whole garage dry and comfortable. For the bigger picture, read how to weatherproof your garage.
Need a hand?
Not sure where to start, or want it done right? Overdoors of Florida has been a family-owned Naples garage door company since 1983, and we are 5-star rated on Google. Call or text (239) 643-7612, or request a free quote. We give you the price up front before any work begins.
Call or text (239) 643-7612, or request a free quote.